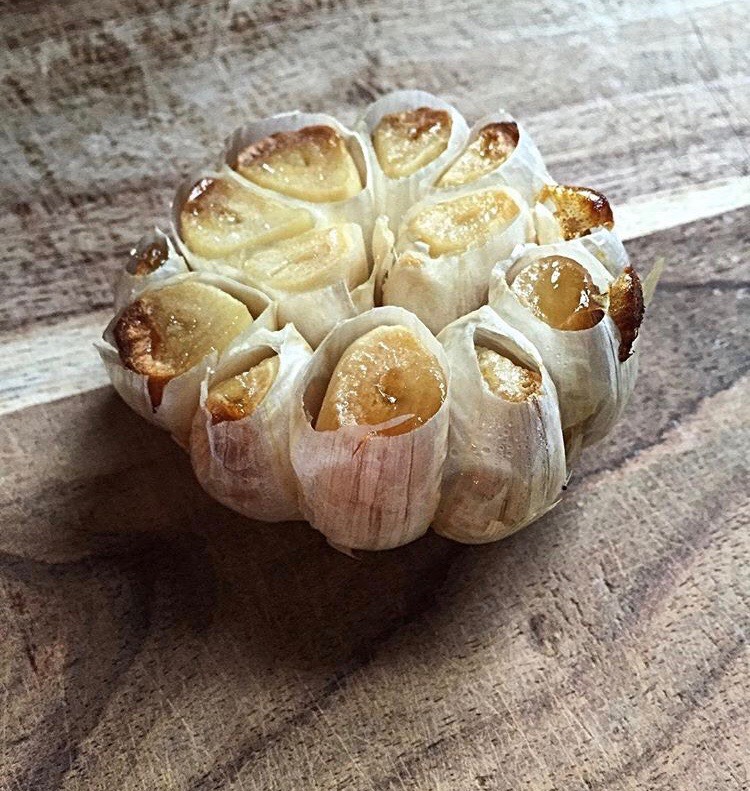
Roasted Garlic Artisan Bread

This no-knead roasted garlic artisan bread recipe will quickly become your favorite go to recipe!

I absolutely love bread. I love the smell, the taste, everything! You can add just about any ingredient to a bread recipe.

Anyone can make bread honestly. It is so so easy. Once you get the hang of it, and taste how amazing it is, you will be hooked!


roasted garlic artisan bread


Artisan bread is perfect to serve with pasta, soup, salad, anything really!


look at those perfect air bubbles! Am I the only one who thinks bread can be so good looking??

This recipe creates a beautifully perfect crunchy outside, and a nice dense, airy, garlicky inside!


So let’s get into it!…


First you want to roast your garlic. Preheat your oven to 350 degrees. Take your garlic bulb, and chop off the top opening the skin to your garlic cloves. Place garlic bulb in foil. Pour about 1 tbsp of olive oil over the top of the open bulb. Make sure to cover your garlic bulb with foil. Bake for 40-50 minutes. Trust me, its worth it!

Once your garlic cloves have a nice golden brown tint to them, they are done. Take the clove out of the foil carefully (olive oil gets very hot!) and let cool before handling.

When the garlic cloves are cooled off, you want to pop them out of the skin. These should come out nice and easy. Chop the cloves up in medium size pieces. Set aside.


Next you want to mix together the ingredients for the bread. In a large bowl mix together artisan bread flour, salt, yeast, roasted garlic pieces, and water using a wooden spoon. That’s it!

Cover the top of the bowl that the dough is in tightly with plastic wrap. Let sit and rise for 10 hours or overnight.


Once the dough has risen, it will look like this.


Now you want to prepare your baking sheet that the bread is going to bake on. You can either use a non stick silicone mat, or parchment paper. But no matter what you use, make sure to sprinkle flour on top of baking surface.


Dump your dough onto the floured surface right from the bowl. If you want to, you can kind of shape the dough into a circle shape, rectangle shape, square shape, oval shape, or any shape you’d like! I think the more imperfect the bread loaf is, the better looking!

Once it is ready to go, place in the oven and bake for 40 minutes. When the top is a nice dark golden brown, then its done!


Roasted Garlic Artisan Bread

Cook Time 40 minutes
Total Time 40 minutes
Servings 1 loaf

Ingredients
  

Roasted Garlic

  • 1 Garlic Bulb
  • 1 TBS olive oil

Artisan Bread Dough

  • 3 Cups Artisan Bread Flour I used Bobs Red Mill
  • 2 TSP Salt
  • 1/2 TSP Active Dry Yeast or Instant Yeast I used active dry yeast
  • 1 1/2 Cups Warm Water

Instructions
 

Roasted Garlic

  • Preheat oven to 350 degrees. Slice off top of garlic bulb to reveal garlic cloves. Place bulb in sheet of foil. Drizzle olive oil on top of garlic bulb covering the garlic cloves. Crunch up foil over bulb to create a roof to cover. Bake for 40-50 minutes. Once garlic cloves have a light brown roasted tint to them, they are done.
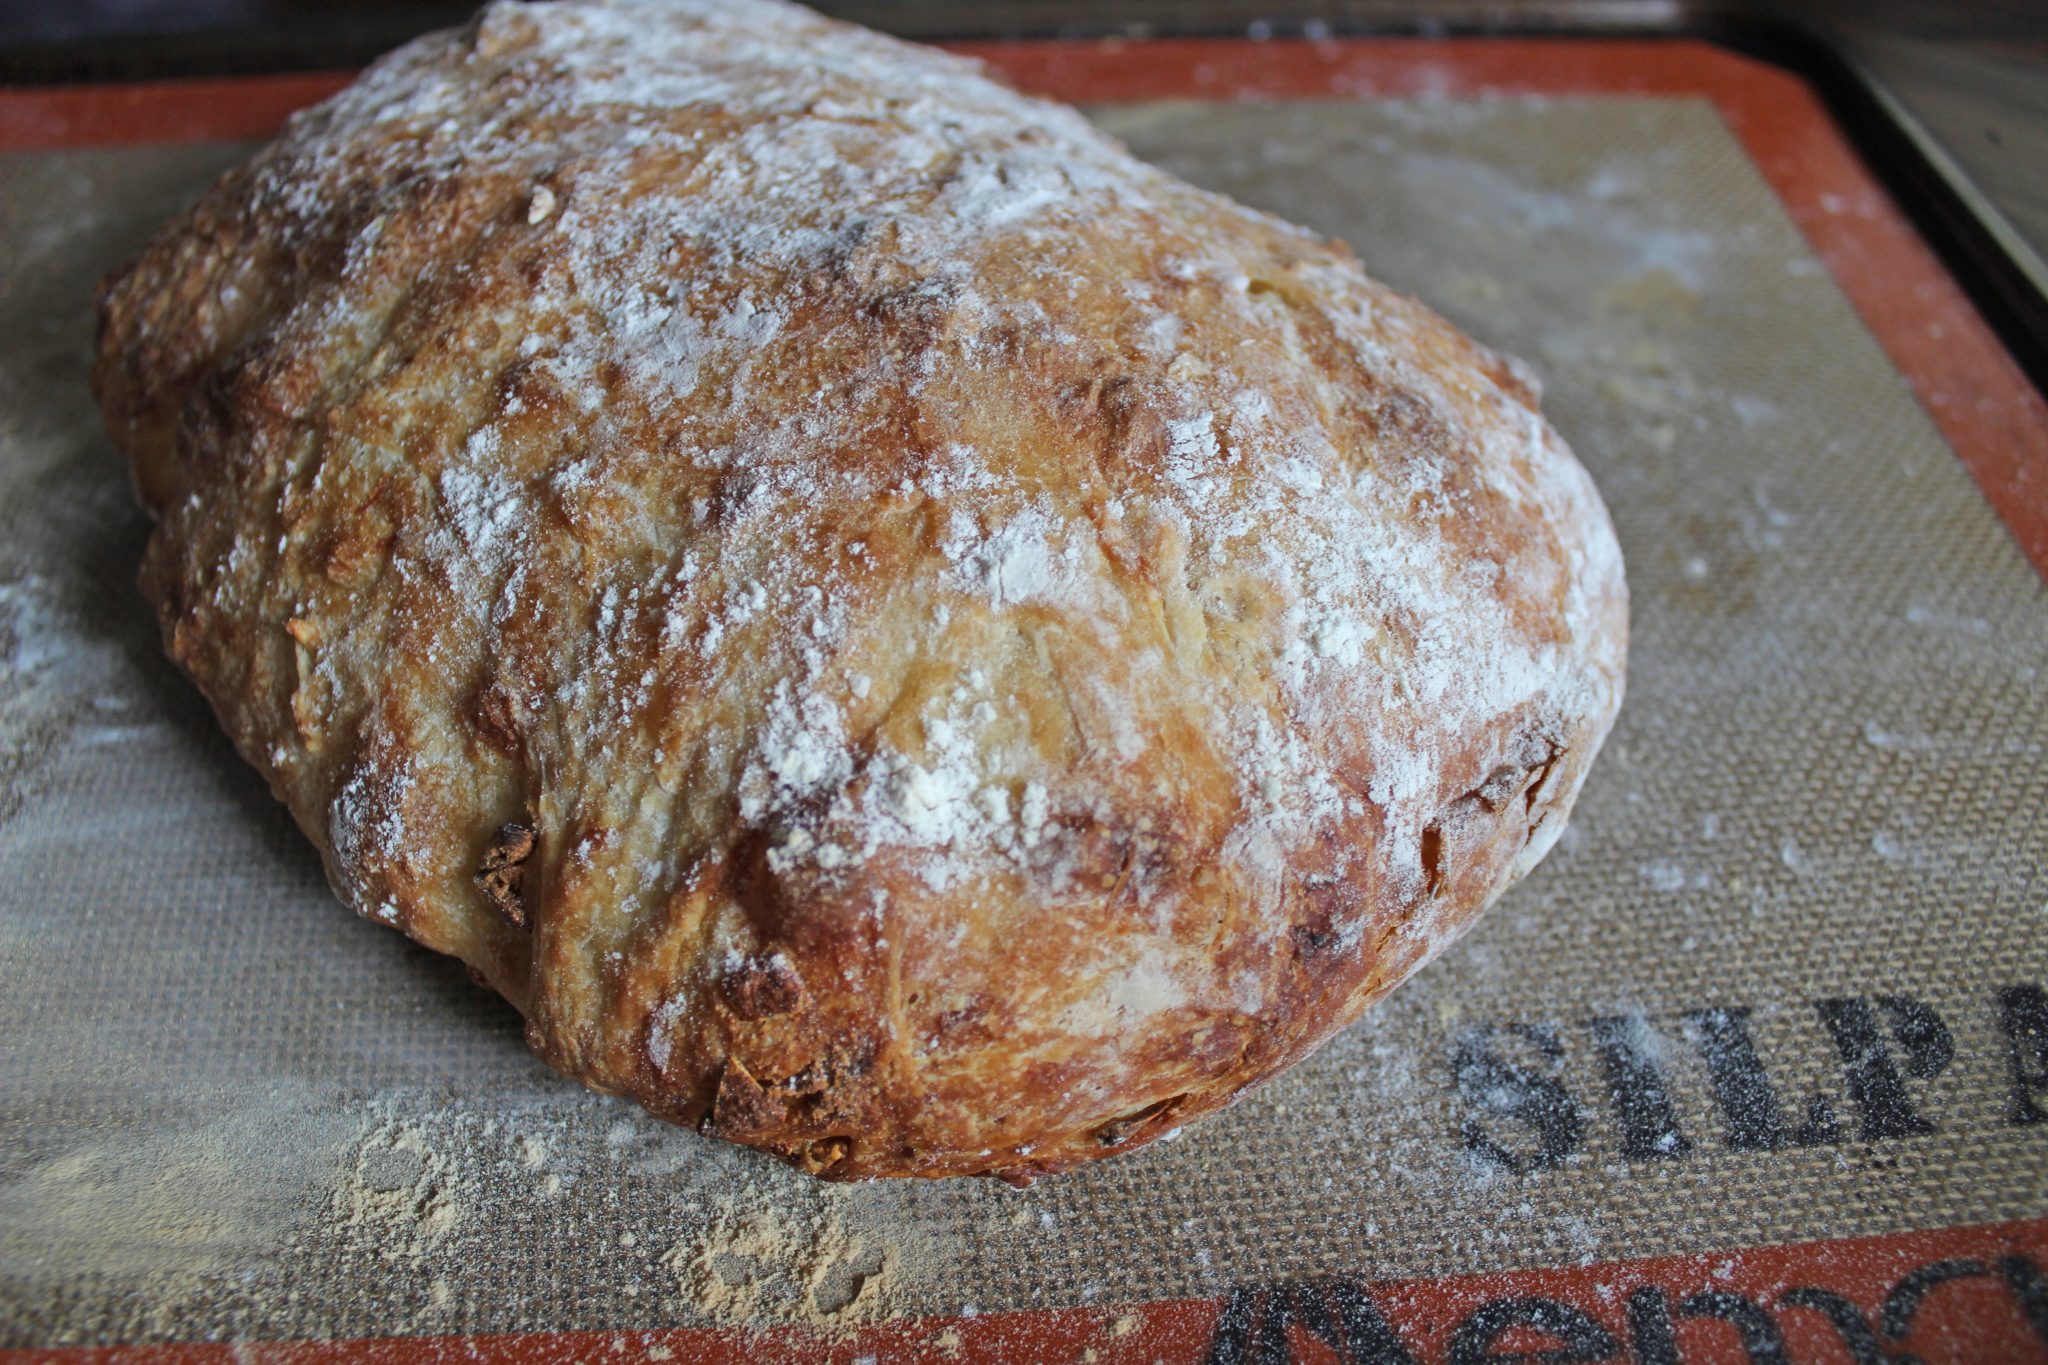
Artisan Bread Dough

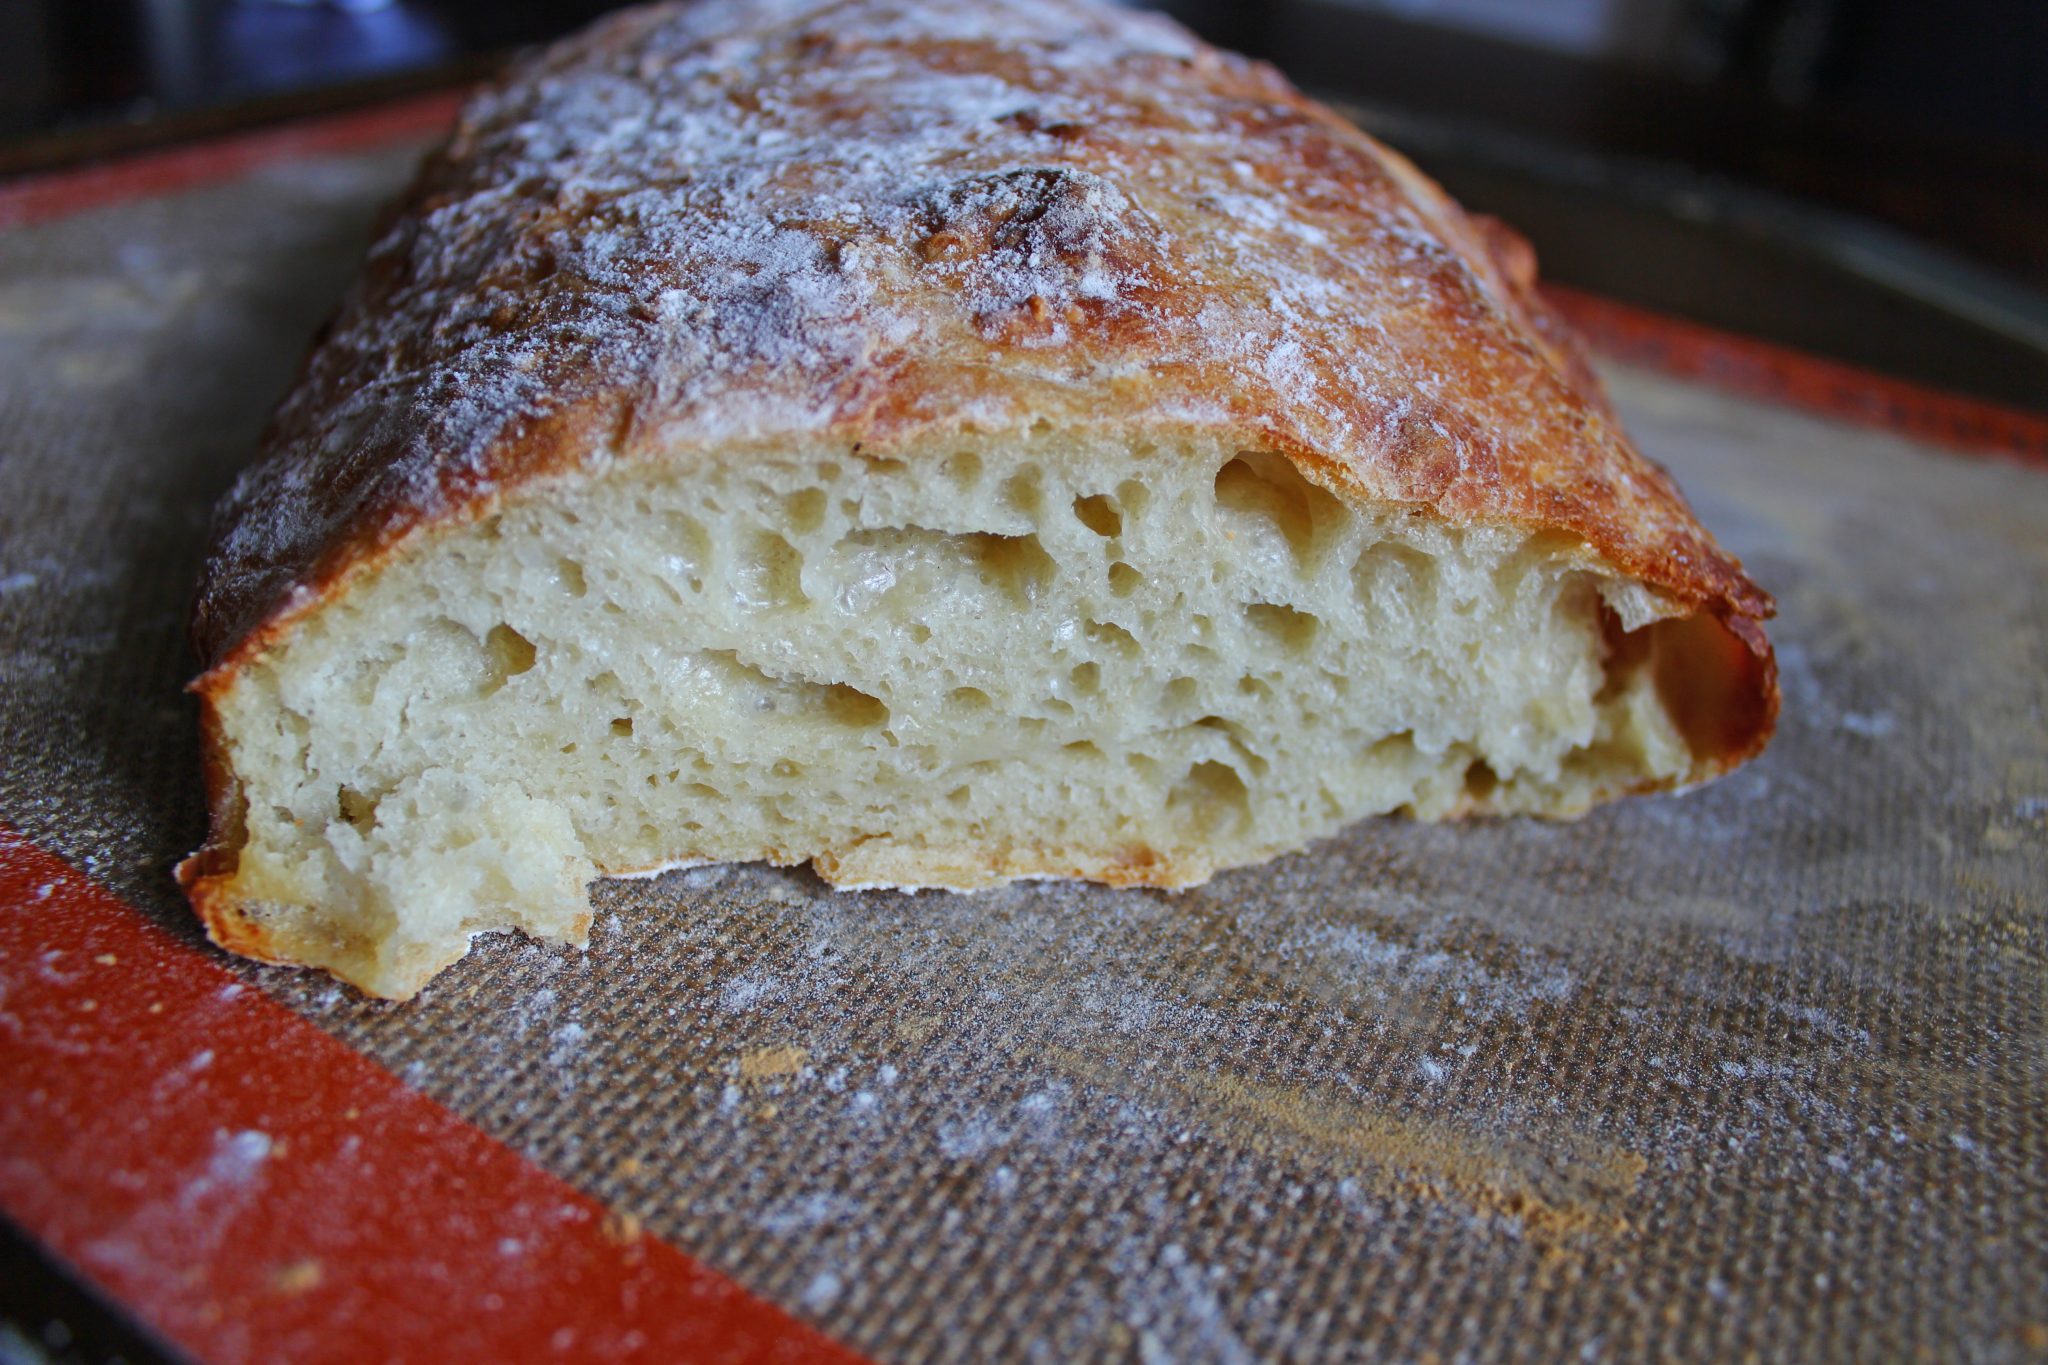
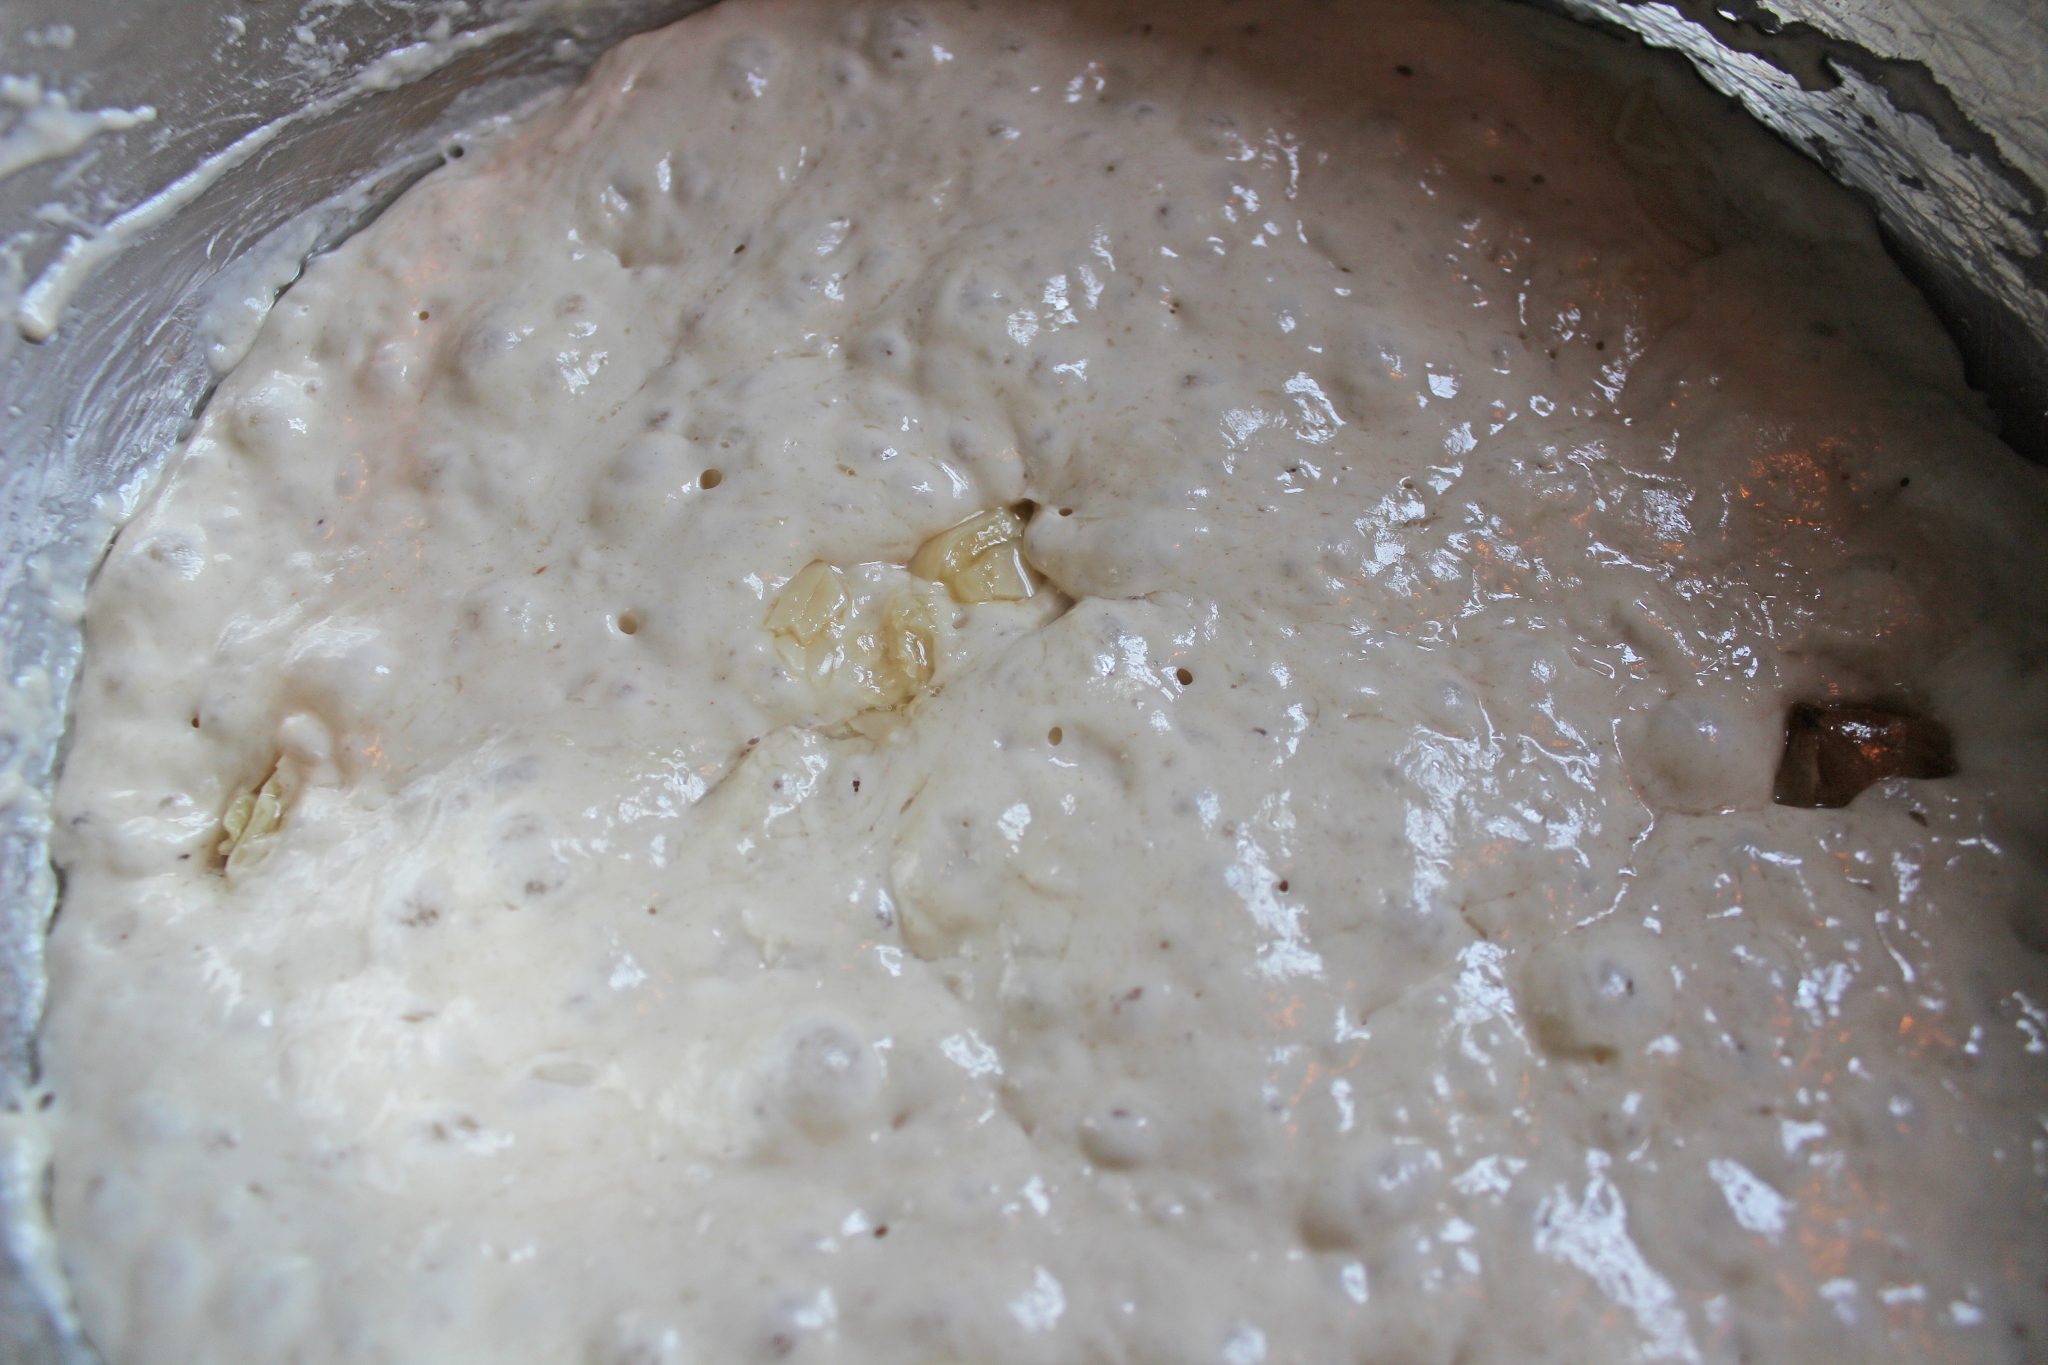
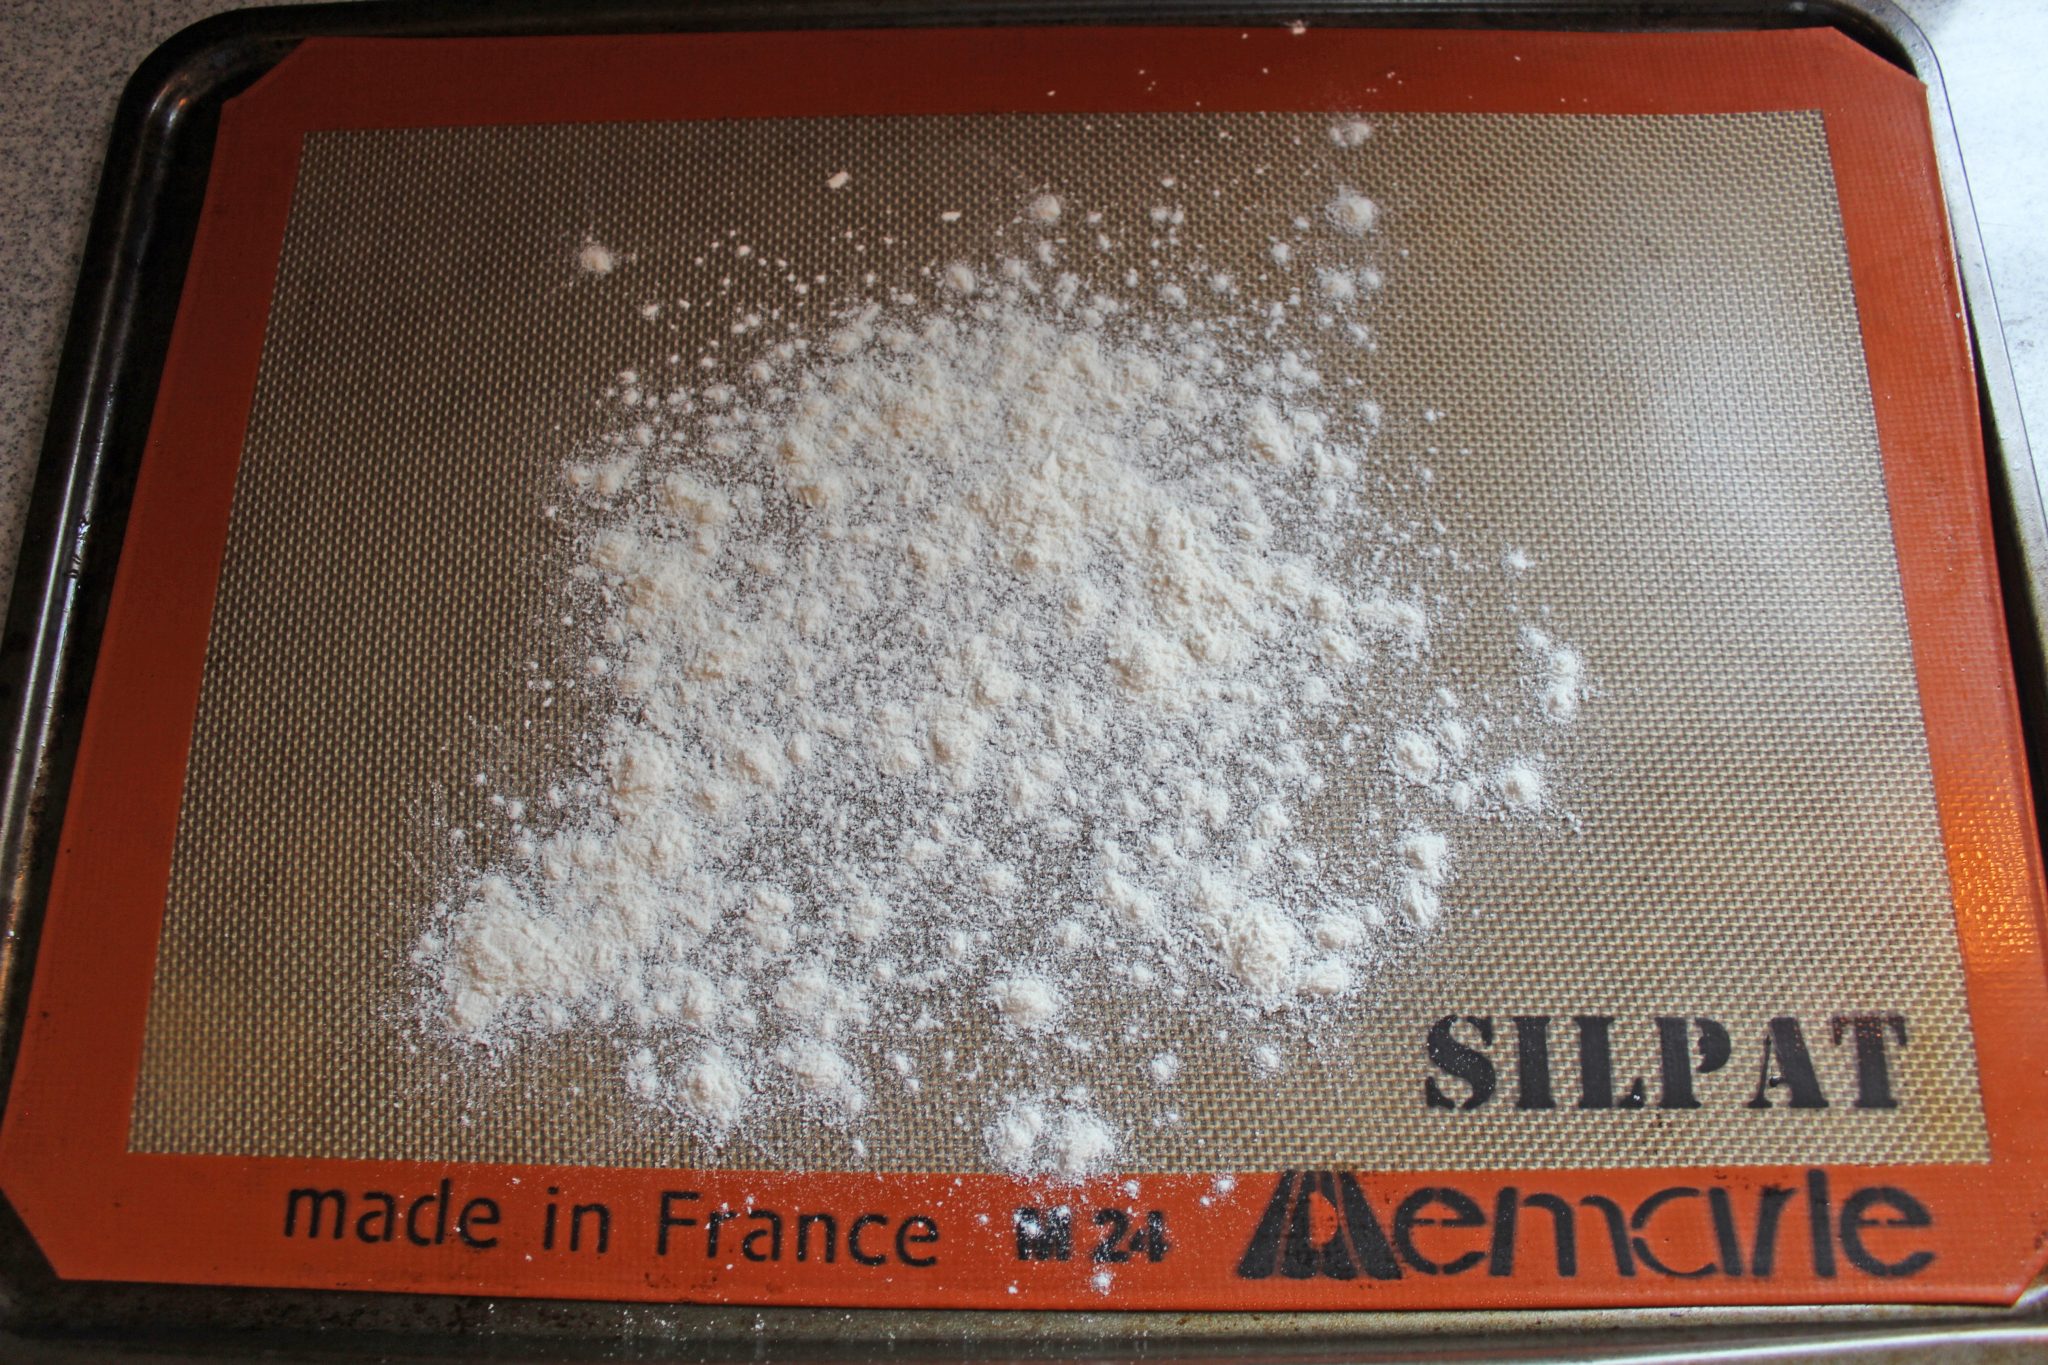
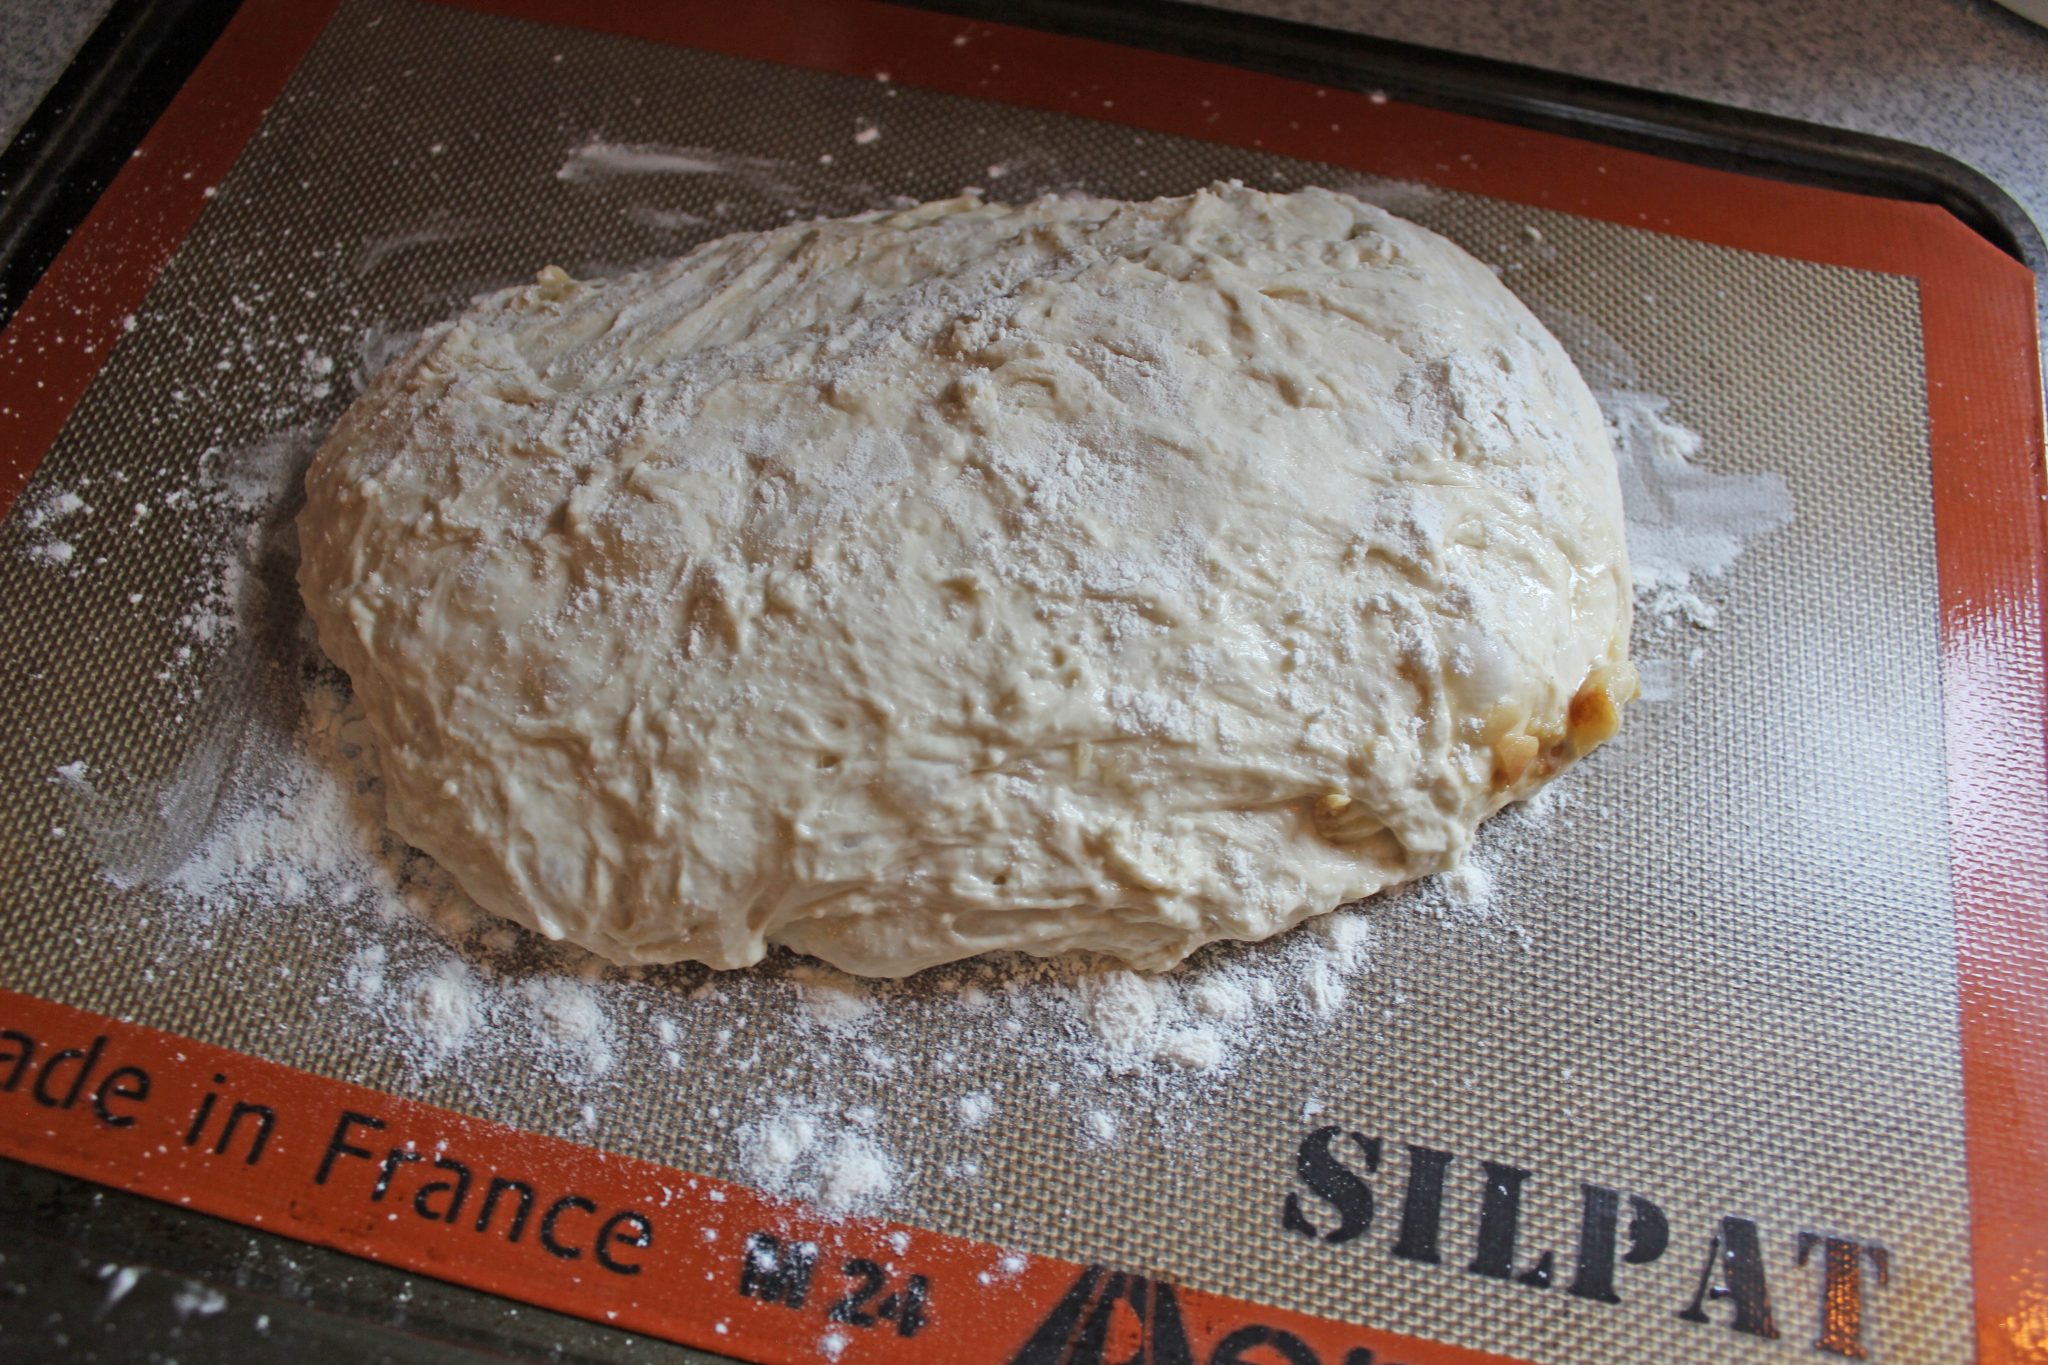
  • In a large bowl, combine the flour, salt, yeast, roasted garlic, and water. Stir with a wooden spoon until a shaggy looking dough forms. Cover the bowl tightly with plastic wrap. Let sit and rise at room temperature for 10 hours or overnight. Once the dough has risen, preheat the oven to 450. Prepare your baking sheet with parchment paper or a non stick silicone base. Sprinkle flour on top of silicone base or parchment paper. Dump the dough out on top of floured baking base, and form into a round shape. Bake for 40 minutes.

Notes

To store left over loaves, I usually just wrap tightly with Saran wrap. Mine have kept fresh for a few days. But I suggest enjoying the bread within a day or two of baking. Another great way to liven up the bread if it's been a few days is to preheat your oven to 350  for a few minutes to give it that nice crunch and warmness to it.

4 COMMENTS

  1. ~Betty | 10th Aug 18

    !!! Great Job !!! 💙

    • Krista | 11th Aug 18

      Thank you!!! First comment <3

  2. Brenda Bangrazi | 12th Aug 18

    I can’t wait to try this!

    • Krista | 14th Aug 18

      Wahoo! I hope you like it!!

Leave A Comment

Shares
Follow Me!
Follow Me!
fb-share-icon
Follow Me!