Mason Approved Healthy Dog Biscuits
These healthy homemade dog biscuits will have your fur baby begging for more. Using only 4 simple ingredients. Why buy store bought biscuits for your pup when you can make simple, homemade healthy ones?!
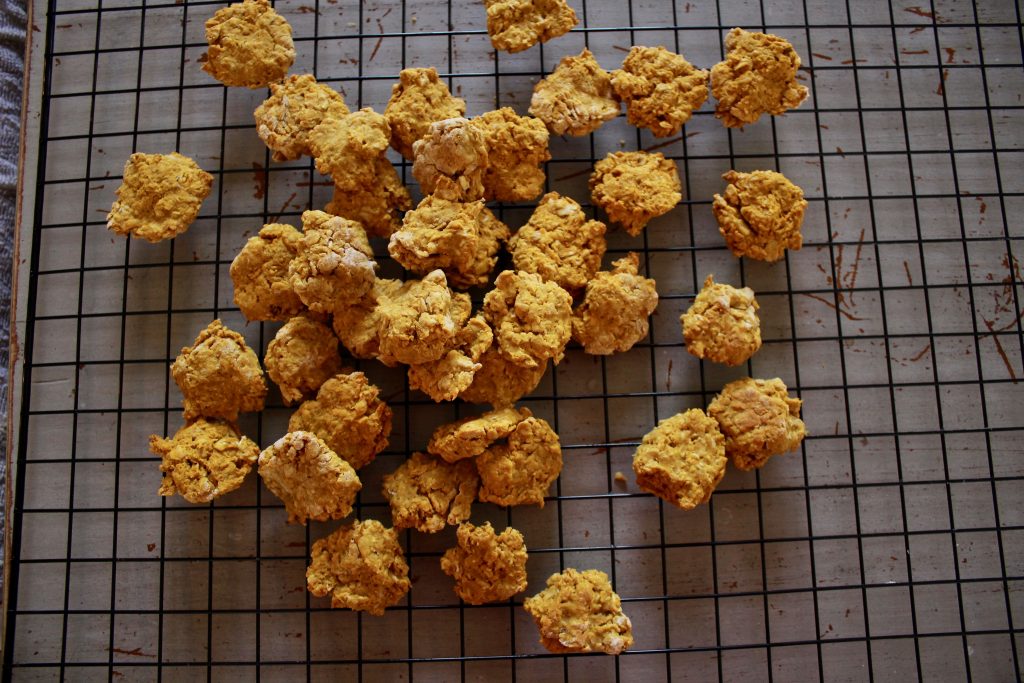
I decided to mix things up a bit and post a dog recipe. Our fur kids need to eat delicious homemade recipes too! My fur boy is a 9 year old golden retriever. His name is Mason, and I think it’s safe to say that he knows who runs the house, and who is King of the house. He is.
If you own a dog or dogs, chances are they are spoiled. At least a little. Am I right or am I right? We can’t help it though! We just love them so much, they are so loyal to us and we want to treat them the best that they deserve. And one of those way is by giving them yummy delicious treats.
Unfortunantley, most of the store bought treats we tend to buy our beloved fur kids are loaded with unnecessary ingredients that aren’t the best for your dog.
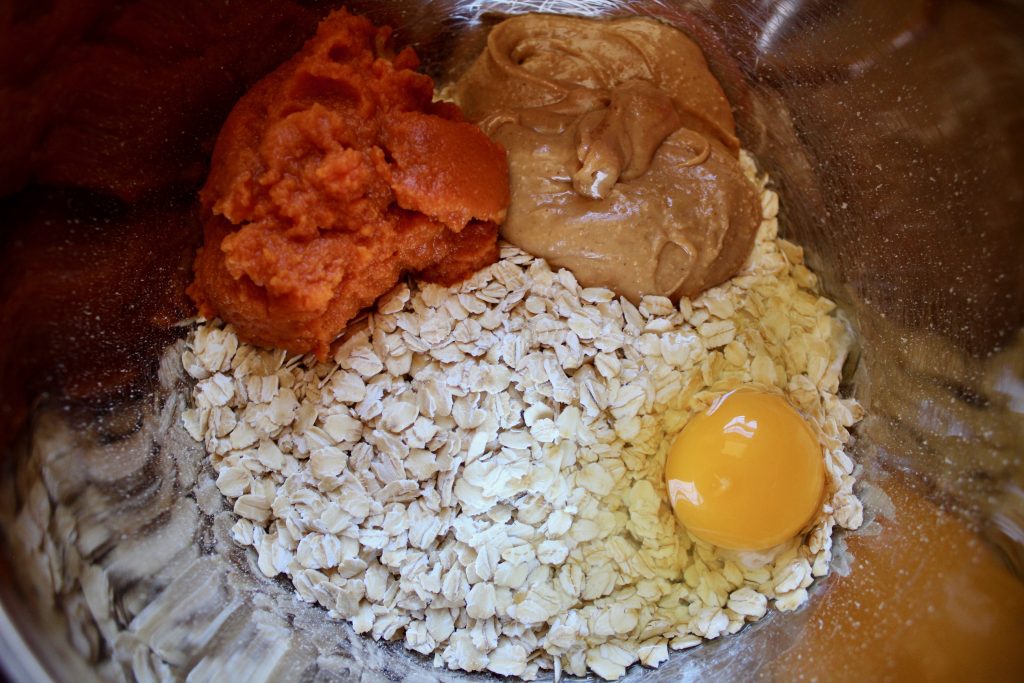
Most dog treat packages have a lengthy list of ingredients, and the nutrition facts can be somewhat confusing. Of course, there’s always the more natural, whole ingredients dog treats…but those things are pricey!
Mason is my world, and I only want what’s best for him, especially when it comes to food and treats. I want to make sure the ingredients I am giving him aren’t harmful.
This recipe includes only 4 simple ingredients! and is very cost efficient…AND you know what you’re giving your dog.
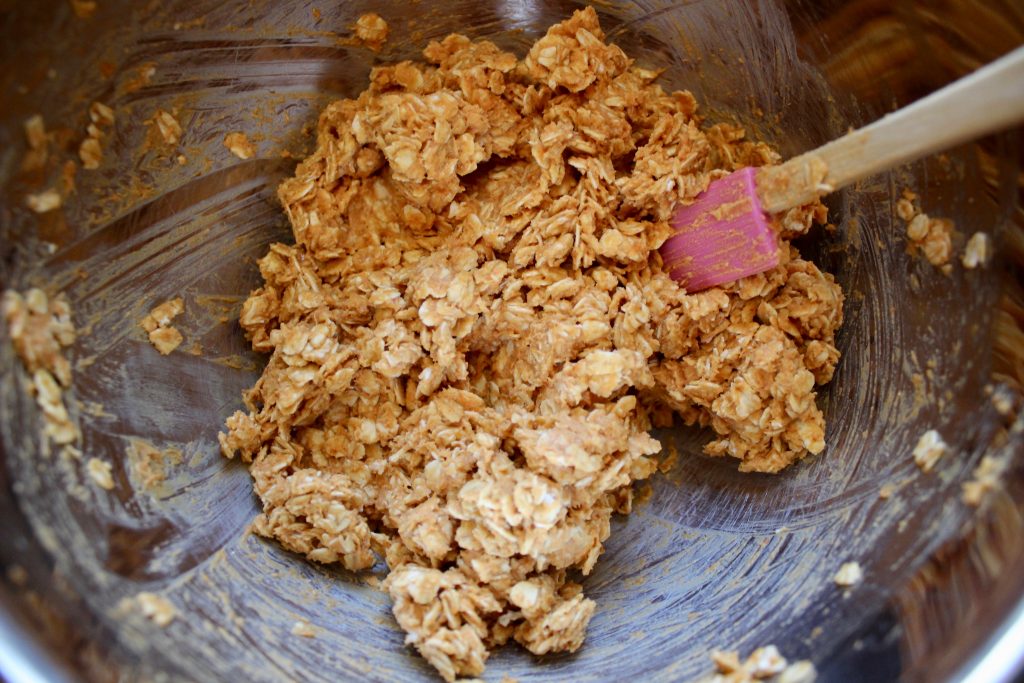
You simply want to mix all of your ingredients together in a medium size bowl.
I’m giving you a fair warning…at this point, your dog will start to sniff and smell the wonderful aromas of peanut butter and pumpkin. Before you know it, they will be right at your feet, sniffing and smelling, hoping that the wonderful recipe you’re making is for them.
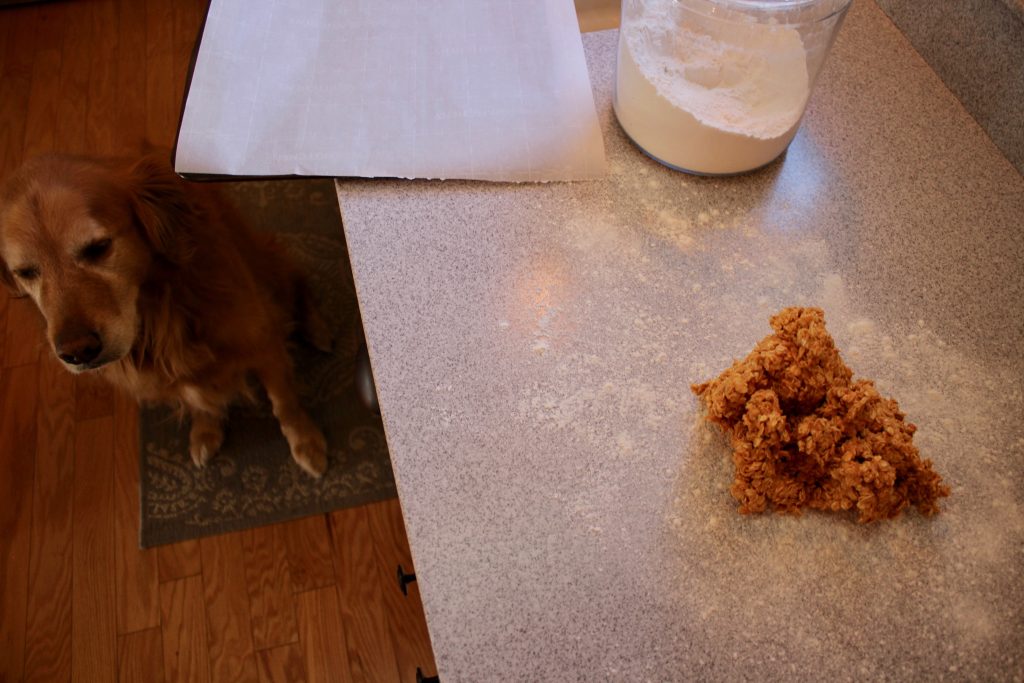
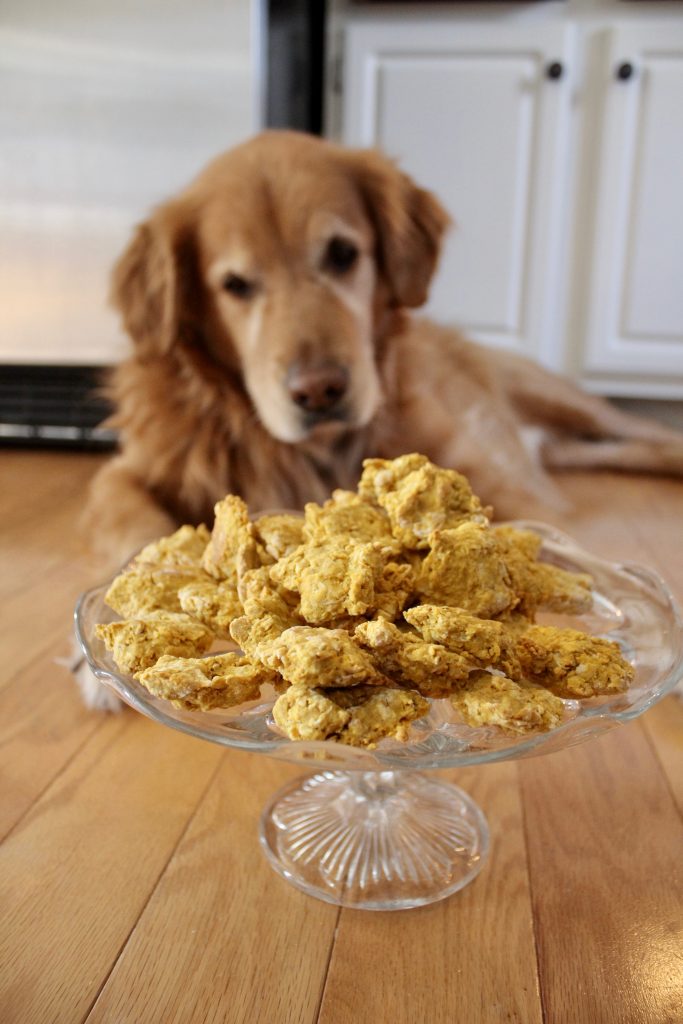
Can you spot Mason? He kind of blends in with our floors. Same color! Well, there he is. And let me tell you, he was sound asleep in the living room when I was making the dough. His nose woke him up and lead him to the good stuff!
If you are like me, you will reassure your dog that this recipe is for them, but they have to wait and be patient. Mason knew right away. So he decided to plop down in his spot in the kitchen.
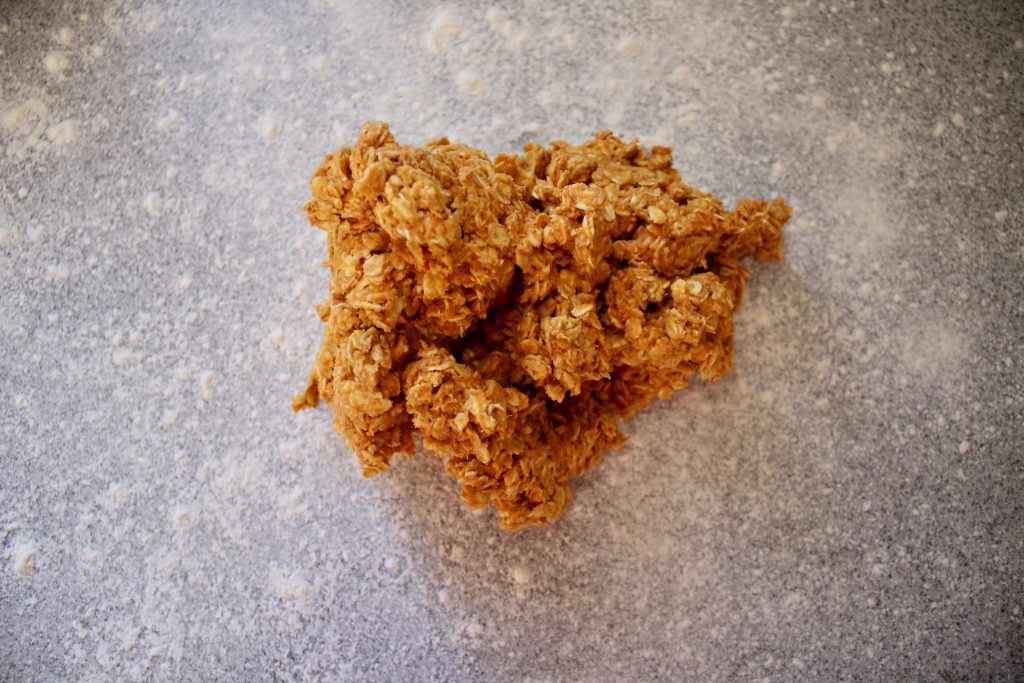
When your dough is all mixed together, it will be very sticky. On a very well floured surface, you want to transfer the dough. You want to sprinkle about 1 tablespoon of flour on top of the dough and knead it into the dough a few times. If you notice that the dough is really sticking to your hands, just keep sprinkling more flour into the dough. I noticed this helped a lot.
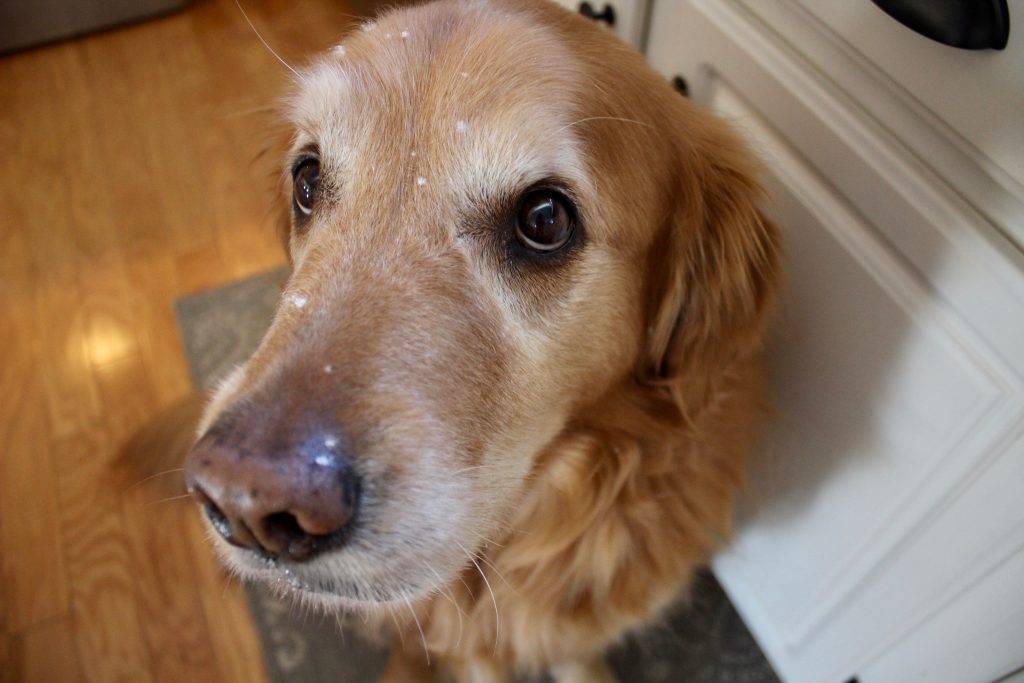
As you can see, Mason got curious again and his nose lead him over to my dough making area. He had some clear evidence on his snout and head that he got in the way of my flouring process.
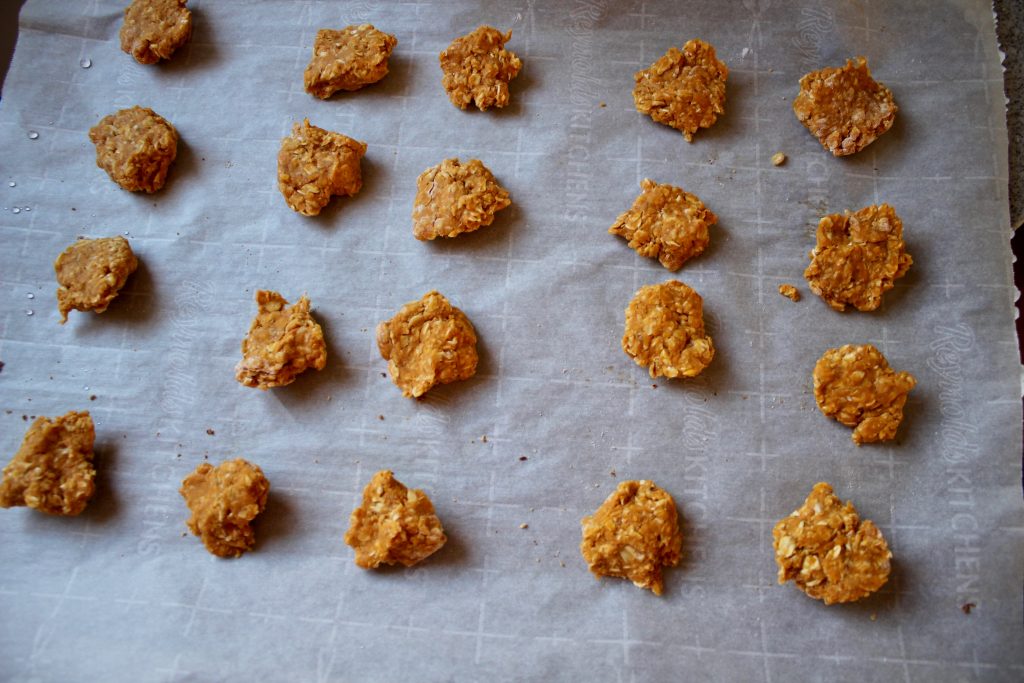
On a lined baking sheet, you want to place about a teaspoon size piece of dough. If you want, you may use a cookie cutter, but it will have to be a sharp cookie cutter. I tried using one and it wouldn’t cut through the oats.
After all, I don’t think your pup is going to care too much about the shape of their biscuits.

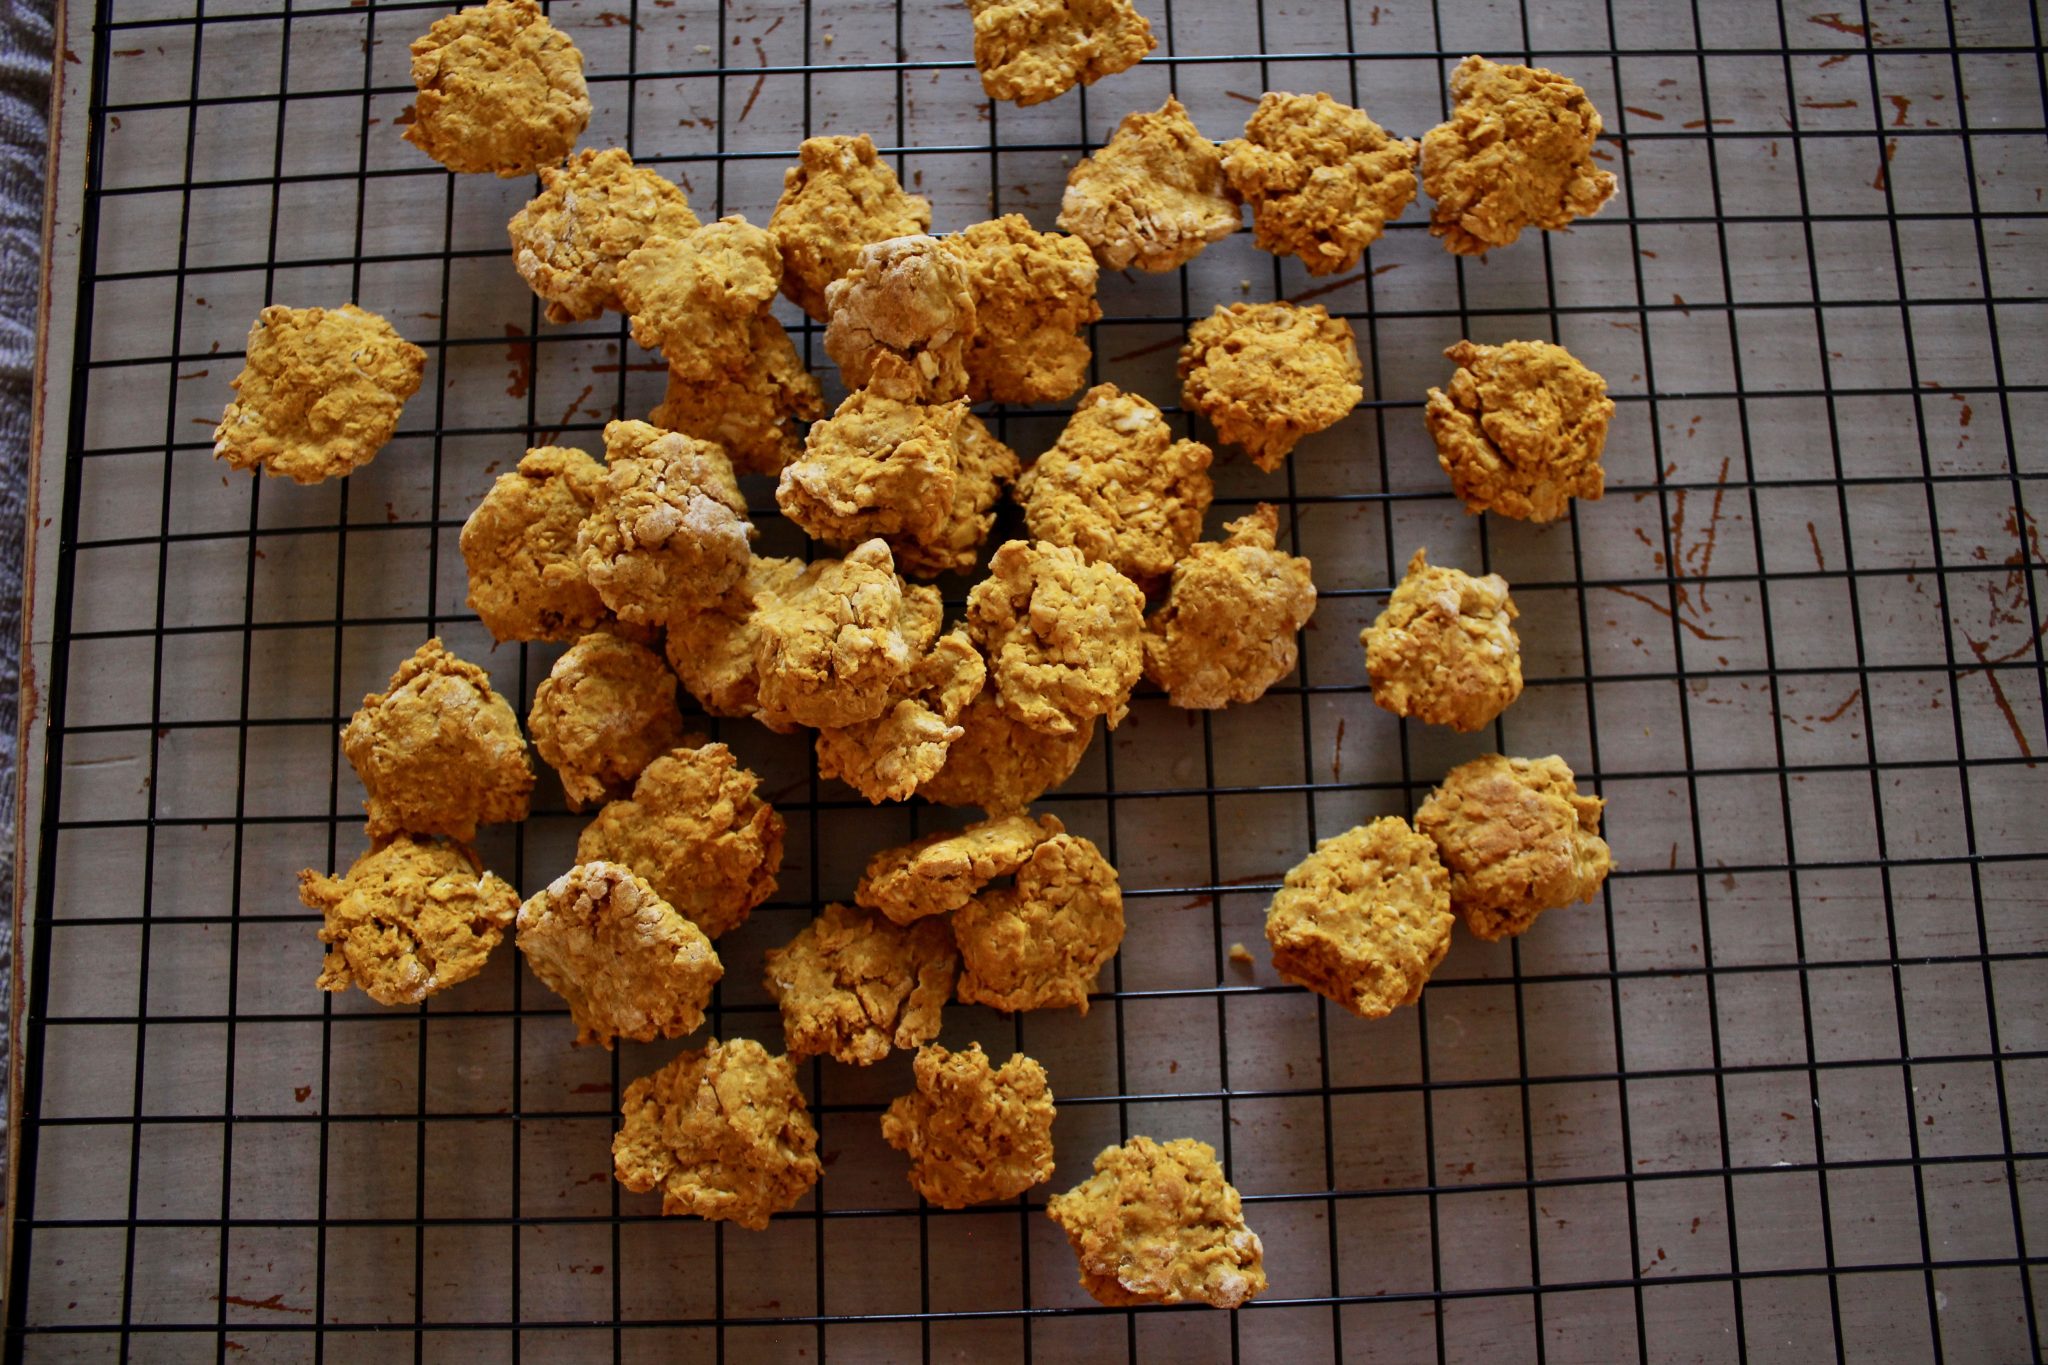
Bake them in a preheated oven for about 20 minutes or until they start to get a very light golden brown. Let them cool on a cooling rack.
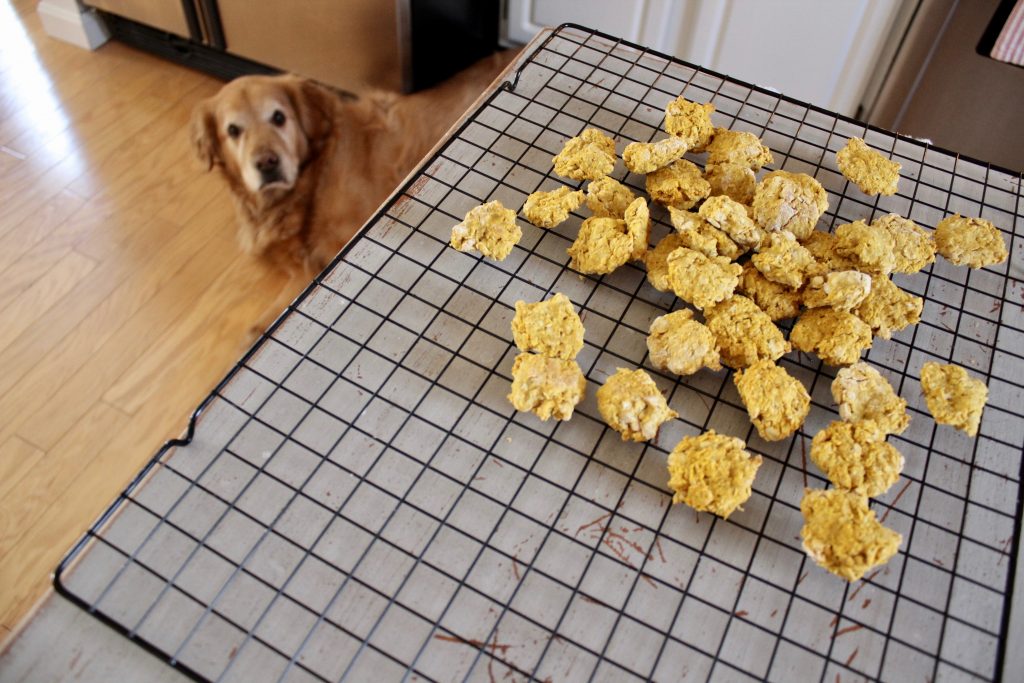
If your pup is anything like Mason, he or she will be waiting somewhere in eyesight distance for the biscuits to cool off.
These biscuits are more on the softer side rather than crunchy side.
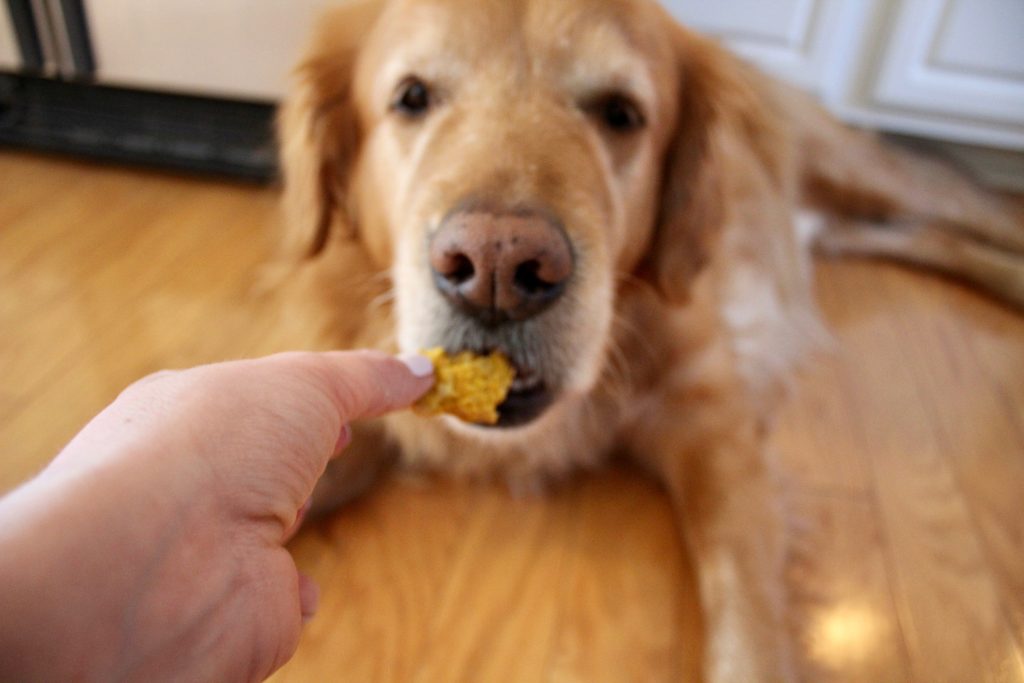
Before giving one to your pup, make sure they are cooled off!
I hope your dog enjoys this recipe as much as Mason did! I feel a lot better giving him these biscuits over the store bought biscuits.
Mason Approved Healthy Dog Biscuits
Ingredients
- 2 Cups Old Fashioned Oats, plain
- 1 Egg
- 1/2 Cup Canned Pumpkin
- 1/2 Cup all natural peanut butter, smooth
- 1-3 Tablespoons All Purpose Flour
Instructions
- Preheat oven to 350 degrees.
- In a medium size bowl, mix together oats, pumpkin, peanut butter, and egg.
- Mix until everything is well combined.
- On a well floured surface, transfer dough. Sprinkle 1 tablespoon of flour on top of dough. Knead flour into dough. This helps the stickiness a bit.
- If dough continues to be really sticky, sprinkle another tablespoon of flour and knead into dough.
- Take teaspoon size pieces of dough and flatten them out a little to make a coin shape. Place on a parchment lined baking sheet.
- Bake in preheated oven for about 20 minutes, or until your biscuits start to turn a light golden brown.
- This recipe makes about 40 biscuits. They keep well in a tightly sealed container.
